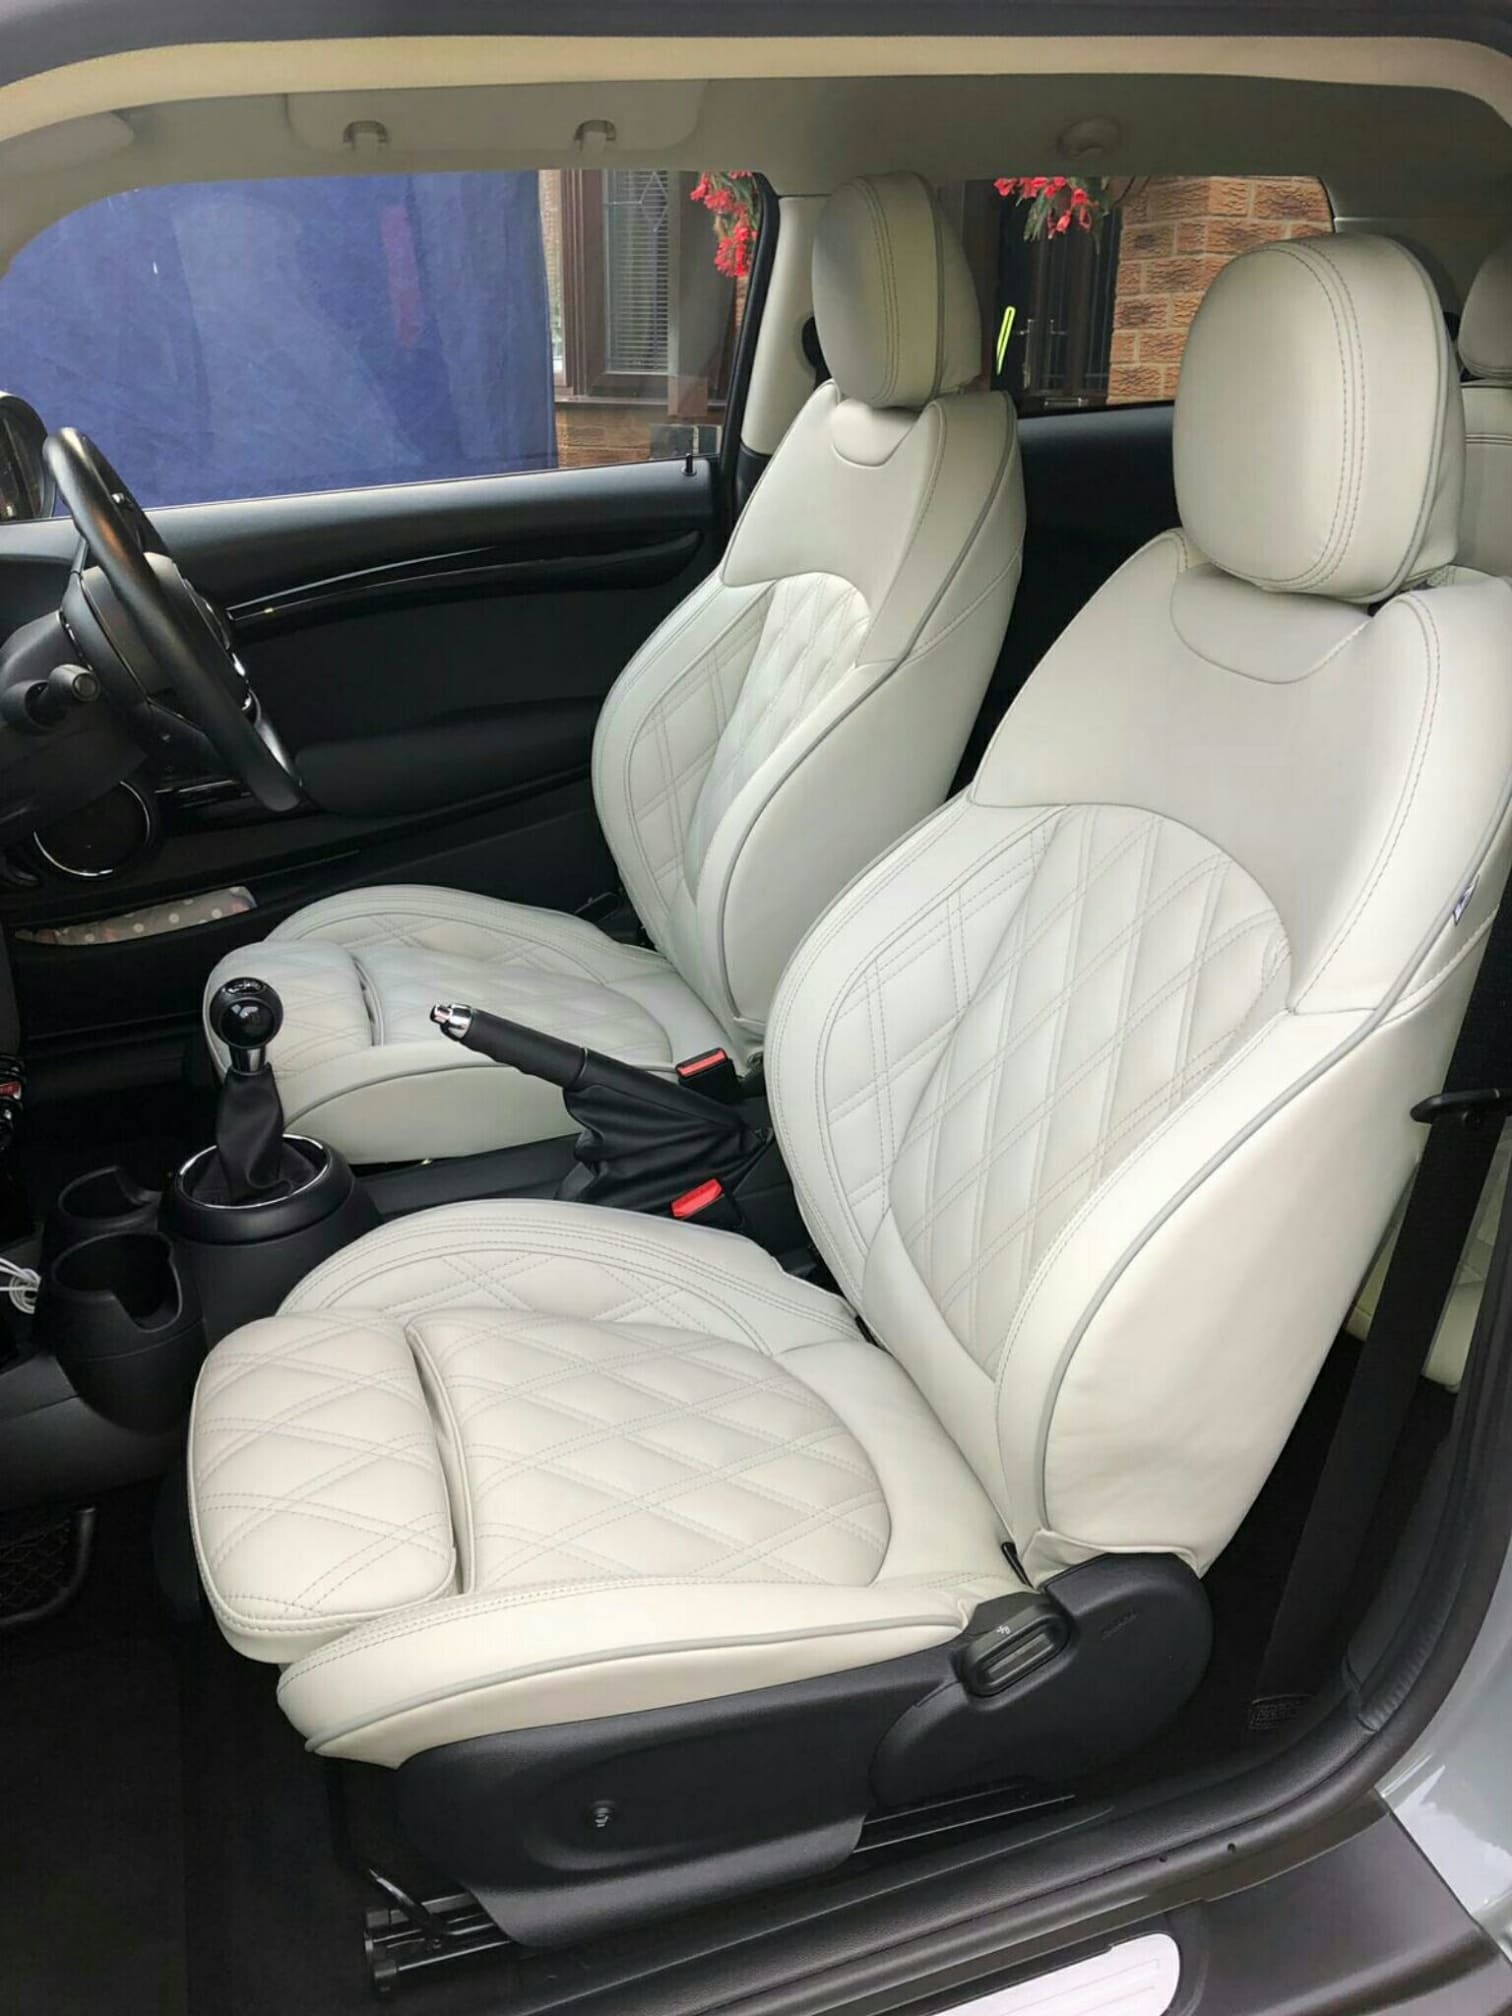
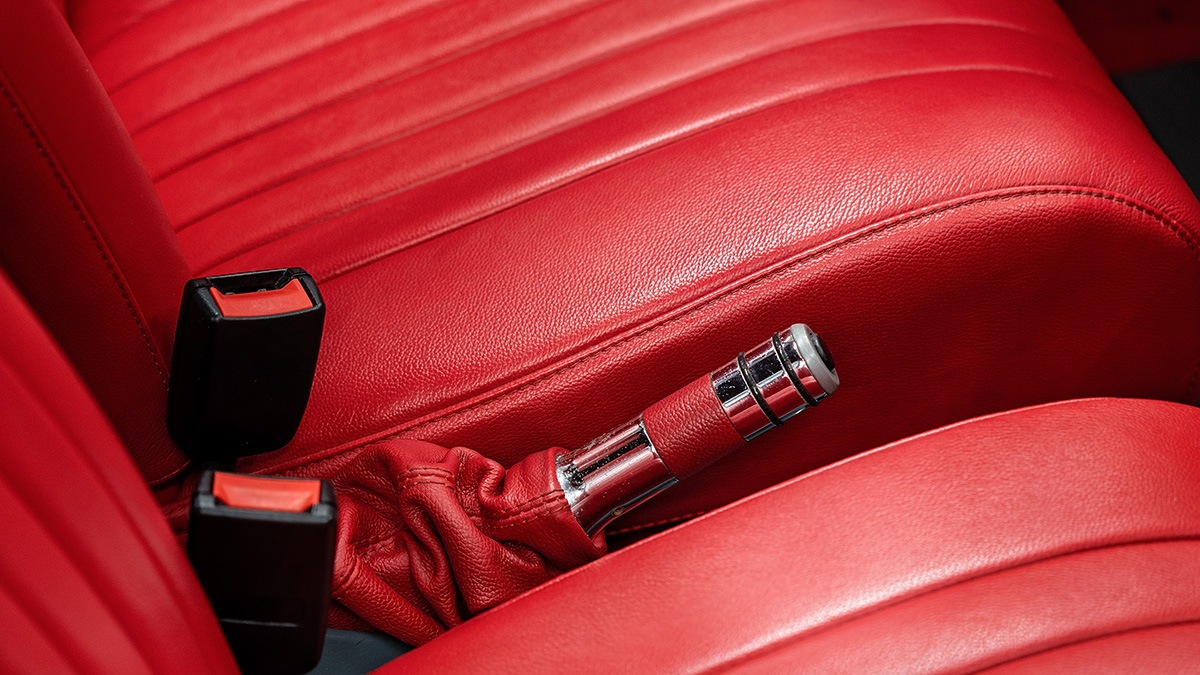
Method for repairing Car Upholstery
When repairing car upholstery, the first thing to check off your list would be to assess the damage to decide if the repair work needs to be done by a professional or if you can do it from home. It is important to note that to repair car upholstery yourself will never meet the standards of a professional and will most likely not look completely new. If there are tears or holes in leather the best advice would be to take it to an upholstery shop as for this kind of damage you won't be able to fix at home, also if you need to remove seatbelts don't do this yourself, your safety comes first, and you will want a professional to fit these back to the way they were before.
If the car seat you are repairing has a tear in cloth, it is worth investing in an upholstery curved needle and extra strong thread that is designed for this kind of work and matches the colour of the car seat; you can now stitch the area to close the gap. Once you have repaired the tear, paint fabric sealant along each side of the rip to ensure the fabric doesn't fray.
To repair a cigarette burns or small holes in the seat, all you will need is fabric glue and a pair of scissors, with the scissors, find a section of the seat that you can take a small section of the fabric from without it being noticeable a cut it, the size of this fabric patch should match the size of the hole. Next, fill the hole with fabric glue and tuck the extra piece of fabric patch inside. With a sharp-edged tool, scrape some fibres off the carpet of the car and press them into the hole where the wet glue is, once the hole is filled, leave the car seat to dry for approximately 1 hour. A slightly different approach to this method would be to tuck a piece of cloth flat in the hole and use adhesive glue to stick this and the material from the car seat together. Follow the instructions on the adhesive glue, as it will need heat to bond the materials together. You can do this with an iron.

Damage to leather upholstery can be much harder to repair than the average material, but if there are only scratches or wear, the solution is quite simple. Purchase a high-quality leather conditioner and apply as stated on the product. An alternative to this would be to apply a modest amount of spray lacquer to the scratched area.
Rips That Are Not on a Seam
Repairing rips that are not in the seam is much easier than those that are. This is because there is access to all sides of the rip. To measure if the rip you are trying to repair falls into this category, take a screwdriver or similar tool with blunt edges and feel around underneath the sides of the tear in leather; if you can move at least a 1/2 an inch around the diameter, this solution is for you.
First, select a patch material that best matches the colour of the previous car upholstery; this material must be heavy-duty and durable. Next, tuck this piece of fabric into the hole and try to align the pattern with the stress on the seat. Now apply the adhesive glue on the surface of the extra fabric you have tucked underneath and make sure each side of the rip are touching each other; place a heavy weight on top and clamp together the material, make sure the pressure is not widening the gap. Professional upholsterers will normally use a special water-based adhesive that sets quickly.

To make the repaired leather look as new as possible, we must fill and colour the visible damaged area. There are a variety of fillers that can be used for this; the main requirements are that it is non-shrinking, flexible and can be coloured later in the process; they can be found at a craft store or bought online. Car seats are not always black or white, so it can be hard to create the perfect colour paint to match without going to a professional car upholsterer. To help with this problem, multiple companies sell kits to allow you to mix colours that repairs damaged leather or vinyl, or they will match the colour of your car seat for you. To fill the hole, take a pallet knife and pick up a small amount of filler, apply a very thin layer to the deepest part of the hole and allow to dry for 20 minutes.
To speed up this process, try using a hairdryer to heat the area. Repeat this process 5-6 times, ensuring that each layer is completely dry before you apply the next; when adding the topcoat, fill the hole completely so that it is even with the leather or vinyl on the rest of the car seat. Once there is no longer a ridge, when you run your finger along the area, wipe it down with alcohol cleaner to prepare for painting. Using the colouring repair kit, apply the paint with the tools provided and allow it to dry.
Rips That Border a Seam
Trying to DIY car upholstery yourself without the help of a professional can be daunting and tricky. Rips that border the seam on your leather seats might look like an impossible job, but there is a solution. Instead of patching underneath the torn area or rip, you will need to use some leather or vinyl from a hidden part of the seat and patch it over the rip. Most cars will allow you to easily remove some part of the seat to access this. Make sure the leather or vinyl patch matches that of the seat you are repairing and cut the material to the exact size of the rip; if there are any rigid edges on the tear, use some scissors to make them straight.
Next, clean the area with rubbing alcohol and a cotton pad, then wipe with a damp cloth and dry with a towel. If there is a sponge material underneath the area that you are working on, tuck a plastic sheet or something similar that will not absorb the glue so the sponge is not exposed; if you miss out on this step, the sponge will harden. Now you have your leather or vinyl repair patch in hand, smear the edges of the seam and the top of the plastic with leather adhesive glue and fit the material to match the colour and texture and grain of the seat.

Use a weighted block to keep the material in place; if you are using wood or something similar, wrap it in cling film, you don't want your weight to be more porous than the leather, otherwise when you release your weight once the glue is dry the material will come off with it. This can be tricky as the wet glue can cause sliding, so be sure to get the positioning correct before the glue dries. Finally, once the glue is completely dry, clean the area with a damp cloth.
If you are struggling to search for the equipment needed for repairing car upholstery, there are compies that sell everything you will need in one repair kit; for cheaper kits, you will only get primary colour paints to mix to your desired colour. For an exact match on your car's interior, you will need to pay more and go to a car paint specialist, they will ask for the car colour code, which can be found on a label in your vehicle, and they will mix the paint for you.
Local Business provide classic car interior restoration for Leicester, Leicestershire and the surrounding areas. If you would like to follow up on any of our services, or if you would like to contact us, then please, follow one of the links below:
